What To Do if Cake is not Cooked in the Middle
Baking can be really tricky. A small mistake can lead to lacking in flavor, a stiff texture, or just totally uncooked. What’s hard is you only find out you did something wrong at the very end. Here you can learn why your cake is not cooking in the middle and what to do about it.
A simple but common reason for uncooked cake in the middle is taking it out too early from the oven. The outsides may be okay, but the insides and middle may haven’t had time to cook properly. Another reason is a temperature or heating problem with your oven.
When your cake is not cooking in the middle, you need to first find the reason. Only then can you fix it or avoid it in the future. Keep reading below to know what to do.
Not Baking Long Enough
Like with other cooking methods, you have to give your cake enough time to cook through. When baking (or any kind of cooking), the outer parts are the ones with the most exposure to heat. So these parts cook first. As time passes, the heat penetrates and travels into the inner parts. This process takes time. If you take the cake out too soon, the heat may not have had enough time to travel and cook the middle. The larger the cake, the more space the heat has to travel, and the longer you have to bake.
Not Baking Long Enough: The Fix
A simple fix to this problem is letting the cake bake for longer. You may have a recipe that you followed to the letter, but you still ended up with a cake that is not cooked in the middle. If so, then you might need to experiment with baking for longer times.
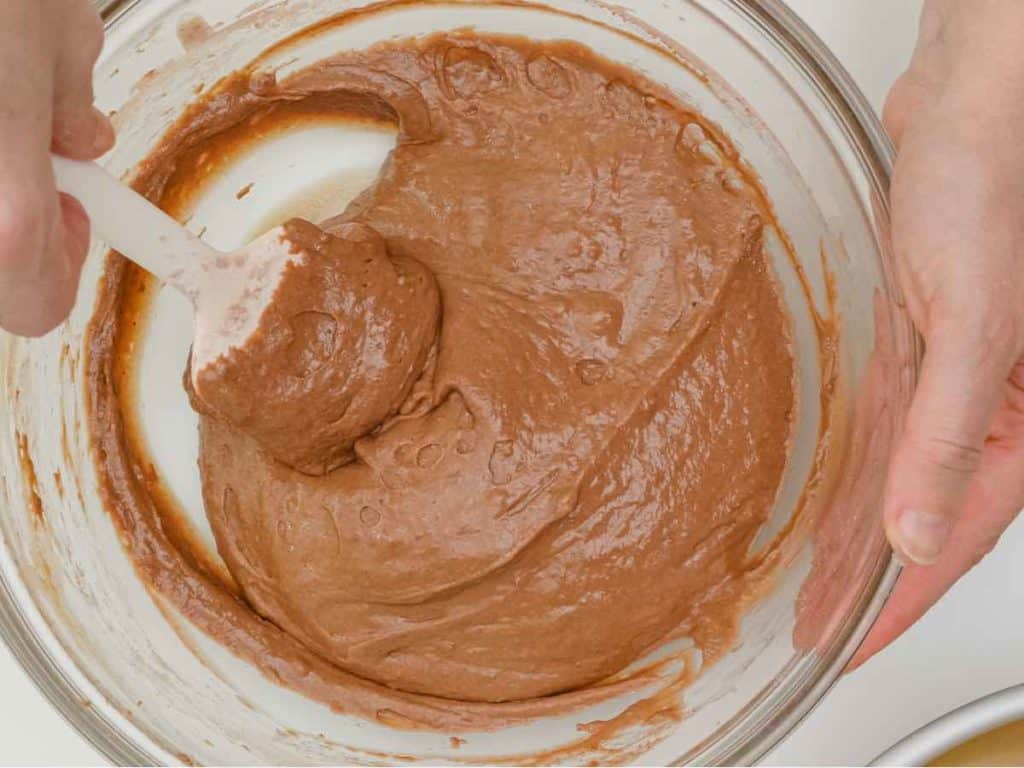
Batter Mixed Improperly
If you mix your batter improperly, your cake will also turn out uneven. Among the things that can get uneven is the cooking.
Batter Mixed Improperly: The Fix
If the problem is an uneven batter, then the solution to it is to be thorough when mixing. Make sure the dry ingredients are sifted or whisked thoroughly. You need to have a good eye on your batter whether you are mixing by hand or with a machine. You also need to evenly spread the batter in the mold or tray.
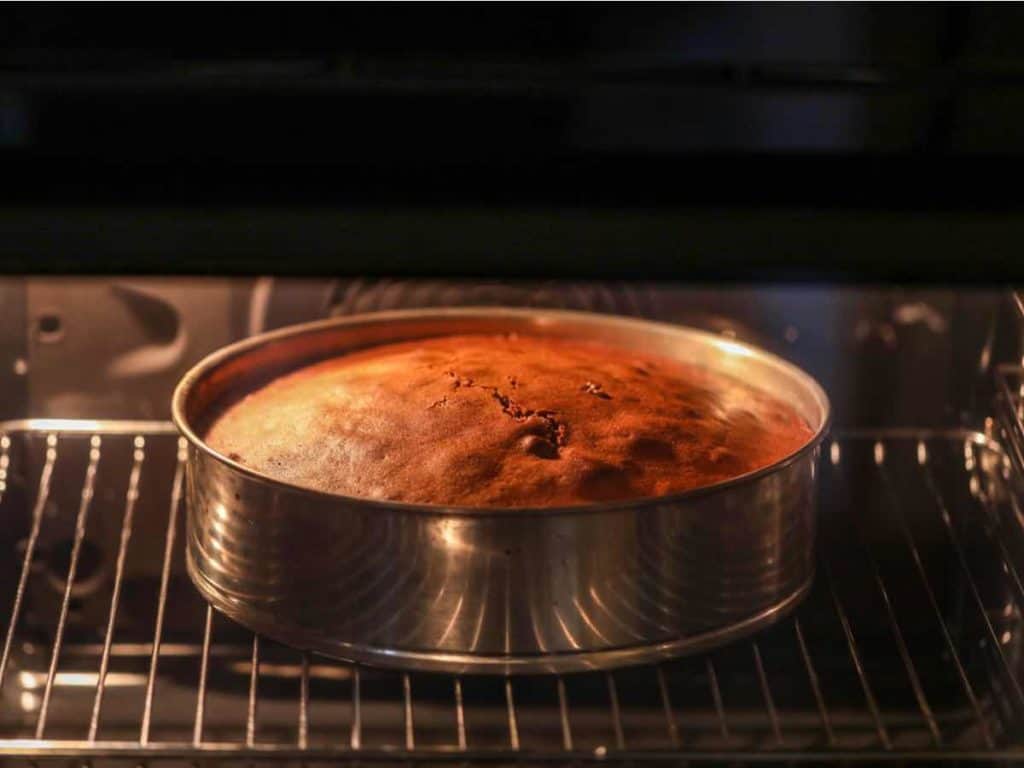
Cake Pan Too Full
If there’s too much batter in the cake pan, then it can be so thick that the heat will take too long to reach the middle. The outer parts will naturally cook first because they have the most exposure to the heat. As the heat travels into the center, the outer parts continue to cook. By the time the heat reaches and cooks the middle, the outer parts may already be burned.
Moreover, if you fill the pan too much, the cake will overflow as it cooks. You’ll then end up with a mess in your oven. It will also be a waste of batter.
Cake Pan Too Full: The Fix
A rule of thumb is to fill the pan only two-thirds of the way up. So whatever the size of cake you want, use a pan that is one-third bigger.
You Used Too Much Baking Powder
Baking powder is a leavening agent. Its role in baking is to raise the volume and lighten the texture of the food. It does so because baking powder is a mixture of a weak acid and a weak base. The weak acid is usually cream of tartar (potassium bitartrate). The weak base is usually baking soda (sodium bicarbonate). When exposed to water, these two compounds react with each other. One of the results of the reaction is the release of carbon dioxide gas. This gas is what raises baked good.
If you use too much baking powder, the cake can rise too quickly. The cake will rise before the mixture has had the time to cook in the middle. If you take it out at this time, the outer parts will be cooked, but the middle won’t be.
As you read earlier, if your cake is still uncooked because you took it out too early, then just return it to the oven. However, if there’s too much baking powder, the excess gas will keep expanding the middle of the cake. It will eventually collapse. The cake can cook through, but you end up with a flat cake.
You Used Too Much Baking Powder: The Fix
The solution here is simple: Use the right amount of baking powder. But let’s say you realized you used too much baking powder before putting the batter in the oven. Can you still fix it? If you caught yourself immediately after adding the baking powder, then you may still be able to scoop out the excess.
But what if you already mixed everything? If you know how much excess baking powder you put, you can increase the other ingredients proportionally. You’ll end with more batter than originally planned, but you are able to save your cake.
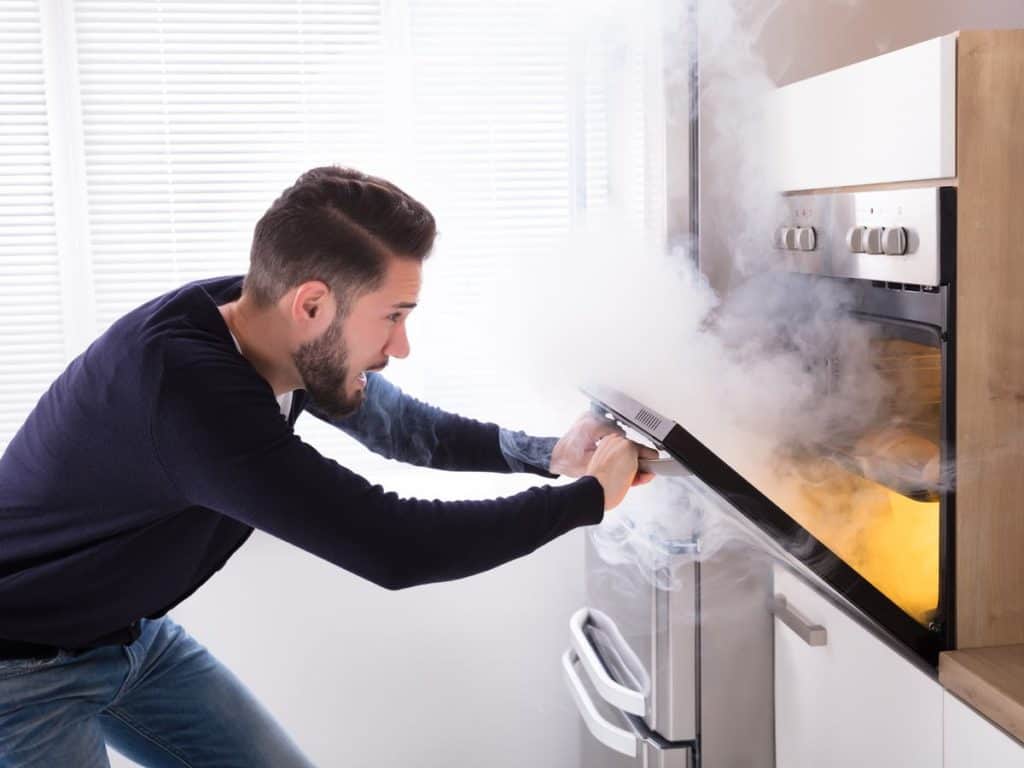
Temperature Issue
Let’s assume that everything you did was correct. Your ingredients were fresh. Your measurements were accurate. And all your mixing and handling were spot on. Then the next problem would be the oven.
The temperature that you set your oven to may not be the actual temperature it puts out. If your cake is not cooked in the middle, then the temperature your oven puts out may be higher. With higher temperatures, the outer areas tend to cook too quickly. Meanwhile, the inner and middle areas are still raw. By the time the heat reaches the middle areas, the outer areas may be burned.
If the temperature is too low, most of the cake would be uncooked, not just the middle.
Temperature Issue: The Fix
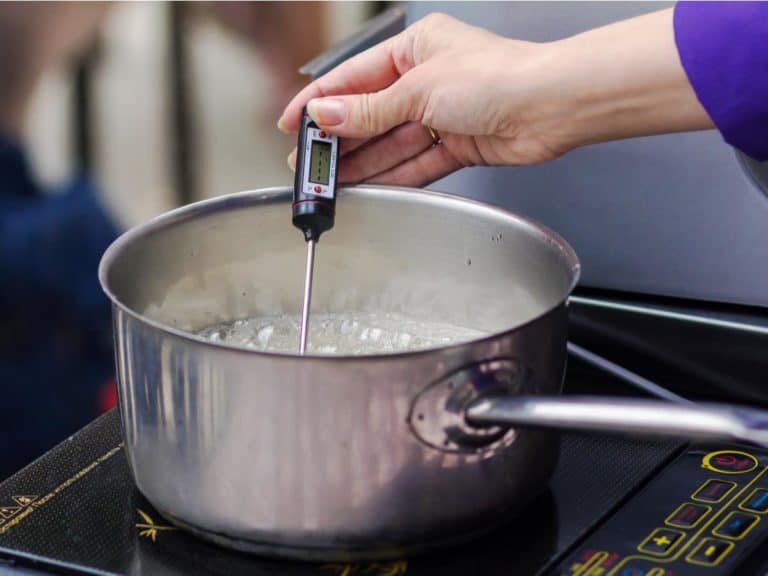
To find out if the temperature in your oven is higher than what is set, put a kitchen thermometer inside to check. If you have the money and plan on baking more often, then you will need to have your oven fixed or replaced. In the meantime, you can rely on the thermometer when setting the temperature of your oven.
Unlevelled Oven Feet
This reason applies to a free-standing oven. Free-standing ovens are usually set into a slot in the kitchen. Hence, these ovens stand on their own feet. If the feet of your free-standing oven is not levelled, heat distribution will not be even.
Unlevelled Oven Feet: The Fix
Appliances today usually have self-leveling feet. The front feet are adjustable while the back feet adapts. If you have a bubble-level (also known as a spirit level) you can use it to check if your oven is balanced. Use it to check the top surface and bottom edge of your oven. If either is not level, you will need to adjust the front feet. You can twist the front feet to make them longer or shorter. Play around with the feet heights until your oven is balanced.
Malfunctioning Leveling Legs
The reason your oven may not be levelled is that the leveling legs are no longer working properly. A strong impact, like during moving, can break the legs. These will need to be replaced. Luckily, leveling legs are appliance parts that are commonly replaced. If the levelling legs on your oven need replacing, below are the supplies you need
- New leveling legs
- Bubble Level
- Blocks
- Channellock Pliers
Prop your stove on the blocks as you work on the legs. You can also use large thick books. You need the Channellock pliers if the leveling leg is broken inside the socket.
Pull the stove slightly forward, just enough for you to be able to tilt it back by a few inches. Ask for help if you can’t move the stove by yourself. Lift the front edge of the stove, tilting it backwards, and prop it on the blocks. Place the blocks behind the leveling legs so that they are not in the way.
Once the stove is tilted sufficiently high, you can proceed to remove the old leveling eggs. If they’re still intact, simply twist them counterclockwise. This action will loosen them in their socket and unwind the screw. The legs will keep extending until they fall out. If twisting the legs becomes tough, use the pliers. If a leg or both are broken into pieces, they might jam the socket, then you may also need the pliers to remove them. Use the pliers to pry the leg free. Once you remove the pieces that are jamming the socket, the rest should fall out easily.
After removing the old legs, it’s time to install the new ones. Line up the screw on the new legs with the socket and turn them clockwise. Keep turning until both front legs are at the same appropriate height.
Slightly lift the stove again so you can remove the blocks. Then gently set the stove down. Have someone help you if you can’t do this step alone. Check if the stove wobbles and give it some light nudges. If it does, then make the necessary adjustments on the leveling legs. Further check the balance using the bubble level. Lay the bubble level on the top-left edge of the stove. Adjust the front left foot until the bubble is centered. Match the right and left sides. Finally, check all the top edges again to ensure your stove is now balanced. If it is, gently move the stove back into place.
Unlevelled Oven Rack
Besides the feet, the oven rack may also be unlevelled. Racks can bend with force. They also warp over time. Use the bubble level to check if the racks are unlevelled. Check the racks and tracks separately. You can also lay the rack on a table. Put towels underneath to avoid scratches. If the racks wobble, then they are unlevelled. You can also visually check if there are any warping or bends. Stuck old burnt food can also make the rack uneven.
Unlevelled Oven Rack: The Fix
There are three main solutions if the racks are unlevelled. These solutions are: re-set the racks, clean them and the oven, or replace them.
Obstructed Airflow
This problem applies to ovens with fans. Convection ovens have fans while conventional ovens don’t. The fans help circulate the air, which is a key concept in convection. Hence, if something obstructs the airflow, then the hot air cannot circulate properly. The end result is inefficient heating.
Obstructed Airflow: The Fix
Old burnt food, grease, and other debris can obstruct the airflow. The simple solution to this problem is to clean your oven.
Overcrowding can also obstruct the airflow. So if you’re baking multiple cakes, make sure you leave enough space for the air to flow. How you do this is rather subjective though. A good way to tell if you’re overcrowding the oven is if it feels like you’re already cramping the oven. There should also be enough space in between what you’re baking for them to scoot around.
It may even be necessary to raise the temperature and cook times when baking multiple items. Doing these steps requires skills though.
It may even be necessary to raise the temperature and baking times when baking many items. Doing these steps requires skills though. And when baking multiple foods, make sure they don’t have significantly different consistencies. The reason is that different consistencies can block heat from each other. If you’re not sure, you can experiment with simultaneously baking different items. Or just bake them separately.
You can also check your oven’s manual on how to arrange food in the oven. Usually, the center of the middle rack has the best heating.
How To Know If A Cake Is Done
Below are some ways you can do to check if your cake is done.
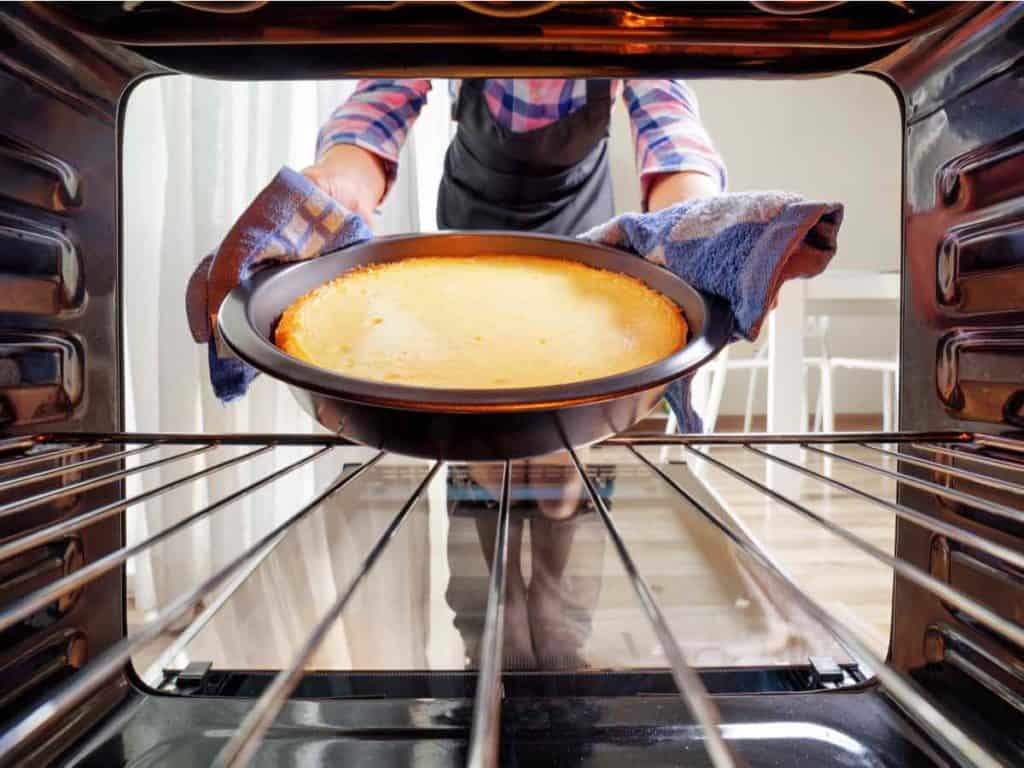
Check the Edges
As the cake bakes, the edges are the first to get done. Over time, the edges shrink inward and the crumb tightens. If you properly greased the cake pan, a small gap will form between the sides of the cake and the pan. Hence, when the baking time is almost done, peak into the oven. Check the edges of the cake. When the cake is done, the sides will pull slightly pull away from the pan.
This method doesn’t work on sponge cakes though. With a sponge cake, you don’t grease the sides of the pan. The reason is that you want the sponge cake to stick to the pan. Letting this happen supports the cake.
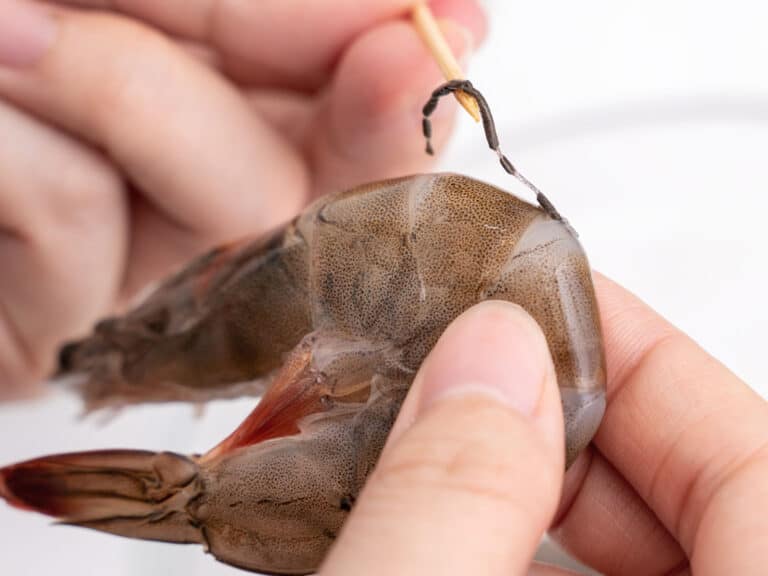
Stick A Toothpick
A common way bakers test if their cake is done is to stick a toothpick into it. Pierce the cake all the way into the center. If the cake is done, when you pull out the toothpick, it should be clean. If the toothpick has wet batter, then the insides are still uncooked. A small knife like a paring knife also works well.
The Cake Is Springy
Gently press on the cake using a few fingers (be careful not to burn yourself). If the cake springs back, then it is done. If the cake gets dents, then it still needs more time.
Check The Internal Temperature
You need a thermometer for this method. For many cakes, the internal temperature must be 200 to 210°F (93 to 99°C). Avoid 212°F (100°C) to avoid burning your cakes.
Whatever cake you may be baking, try any of the tips above to make sure you cook it all the way through